One of the more advanced image effects that is easily possible on the SNES is the Mosaic effect. It can be described of an very old-school blur effect, or pixelation, which can be used for multiple purposes.
The effect can be enabled and configured by simple writes to the register 0x2106
| Bits 7-4 | Mosaic Size (0x0=1×1, up to 0xF=16×16) |
| Bit 3 | Enable Mosaic for BG4 (1=on, 0=off) |
| Bit 2 | Enable Mosaic for BG3 (1=on, 0=off) |
| Bit 1 | Enable Mosaic for BG2 (1=on, 0=off) |
| Bit 0 | Enable Mosaic for BG1 (1=on, 0=off) |
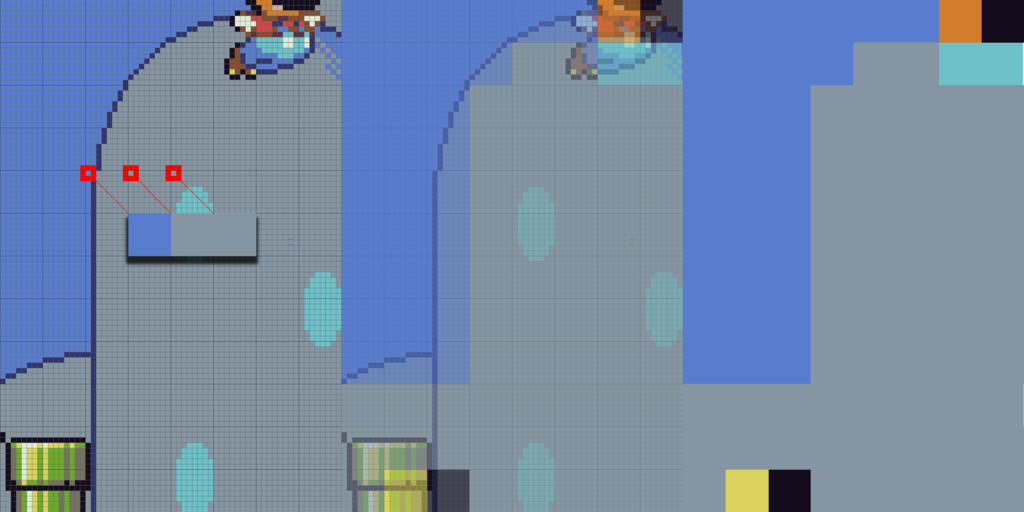
The Mosaic effect on the SNES is very easy for us to implement, since it works in a simple manner. We just step across our framebuffer in the resolution of the Mosaic’s size, and create rectangles, that we fill with the color of the top left corner.
The implementation in the code is rather simple as well.
void processMosaic(u16 *BG) {
	for (u16 x = 0; x < 256; x += MOSAIC_SIZE) {
		for (u16 y = 0; y < 256; y += MOSAIC_SIZE) {
			u16 pos = y * 256 + x;
			u16 col = BG[pos];
			for (u8 a = 0; a < MOSAIC_SIZE; a++) {
				for (u8 b = 0; b < MOSAIC_SIZE; b++) {
					BG[min(y + b, 255) * 256 + min(x + a, 255)] = col;
				}
			}
		}
	}
}
Now, when we’re running krom’s Mosaic test, we can run through all available Mosaic sizes by pressing the L- and R-Buttons.
Comments